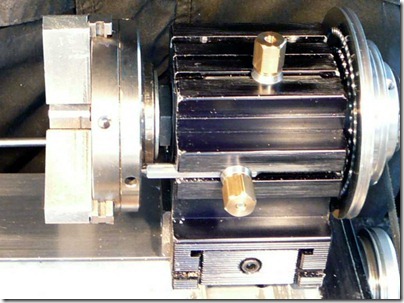
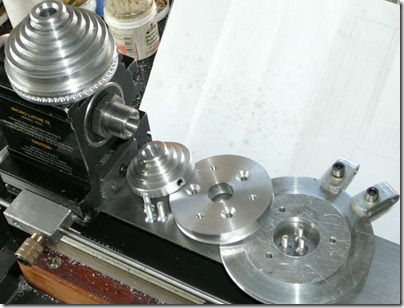
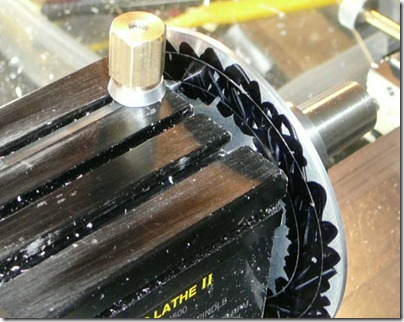
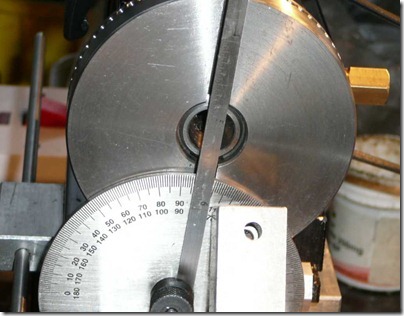
It seems that the majority of people going DC fit a large diam., pulley to drop the spindle speed down so I followed suit. Having some 2 1/2" bar and 5mm aircraft grade alclad sheet I set about fabricating some larger diam.,pulleys. I copied the standard Taig pulley small end to drive my gear box then added a 3/8" disc of 2 1/2 inch bar and machined a belt groove, the parts were joined using 3 c/s screws about 120 degs apart. Wanting to regain a facility I had on an old pulley system I fitted a 3 1/2" disc of 5mm alclad, this would give me a 1/4" and clamping ring clear of the head stock and a really large pulley diameter, the 5mm thickness being enough material for a belt groove. This plate was also attached to the pulley assy., using 3 c/s screws about 120 degs apart, this method of construction ensures that the parts only assemble in one configuration. Not wanting to waste an opportunity I decided to drill some index holes in the plate too, but did not know where. I made quick Bentley type index pin that clamps on outside of the 'T' slot, then out of curiosity I slipped drills into the 'T' slot to see if one would fit, not impressed I slipped in a length of 7/32 hex rod, a perfect sliding fit! So I made my hex index pin 2" long with a 60 deg., point on each end, I tapped a blind hole and screwed home a bolt and ground the head off, a bit of brass hex for the clamping nut and a sticky ally washer completed the job. Both types of pins could be used to mark the hole positions on the disc. The pulley disc assy., was removed from the spindle and fitted in the 4J chuck and the holes drilled. It was convenient having already added the indexing capability to my 4J. It has been noted that the 'T' slot dimensions in the h/stock are all the same, be it the old split type or the new one piece extrusion, but the PCD derived from using the index pins is different between the two h/stocks, here the new h/stock has the advantage in that my hex pin design fits the top or the back 'T' slot, only one pin needed to cover both sets of holes. I took several pics of the above procedures but it was when I was reviewing the shot from the back with my 3J chuck fitted that I got diverted! (Again) See the spacer washer I have to use?
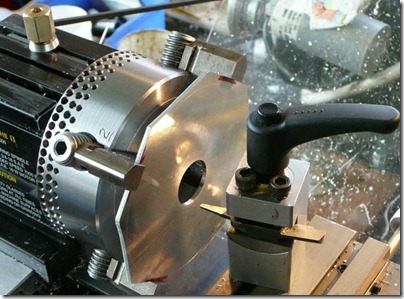
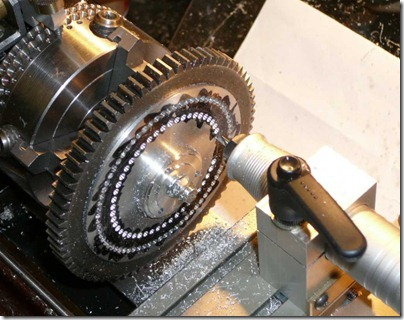
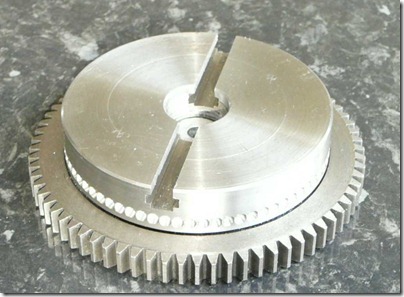
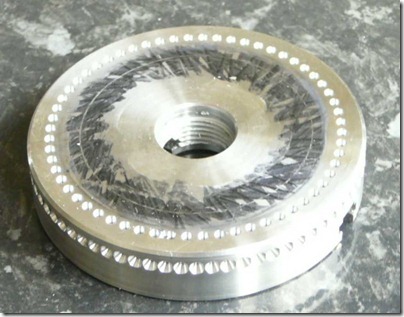
Did you see where that washer was going to take me? Well I just imagined it 82mm diam., with holes in. I thought I would fabricate some index discs, that can be slipped onto the spindle when required to do those little jobs and clamped with 3J, 4J, Taig drill arbour, collet set or face plate. I was lucky enough to have some 16g alclad under the bench so I set to. First I cut out some 85mm oct., shapes and centred them in the 4J chuck, the middle was turned out to .75" diam., and the fit checked by reversing the chuck on the spindle. When the size was right the plate was removed and clamped back on the spindle using a Taig arbour and the O.D. turned down to 82mm. The back face was coated with a marker pen so that the two PCD scribed by the index pins showed up clearly and the disc reversed. Once the decision was made as to which series of holes were to be drilled and the method (I am spoilt for choice here as I already have a selection of gears, index plates and and my modified 4J chuck). The method shown in the pics is the fastest for doing the 72 hole series . I turned a stepped arbour in the 4J to take the 72 gear hub and the .75" disc and clamped them with a dished washer. The drill system was set up at the far end of the x slide, then lined up with the scribed marks and the slide locked. A hex key was clamped to a tool post at the near side of the x slide and set up to engage the gear teeth just before the drill touched. The drill size at these diams needs to be 3/32". 2 seconds/hole was a respectable rate! I transferred the other holes from my 4J chuck at 10 secs/ hole. A few points to think about, either lub the disc to save the ally when clamping or maybe use some steel sheet. The index pin profiles can of course be modified, in the case of pairing a disc with a 4J chuck then two shallow grooves at 2.76" and 2.2" diam on the back face will clear the points. And just to finish this train of thought, a full set of index holes could be drilled in the back of a face plate (next job). Another thought if a face plate has a 60 series of holes drilled on the back and a series of 72 around the the outside diam., there is a difference of 1 deg., in their angles? Hmmm. If I'm not careful I could get side tracked again.
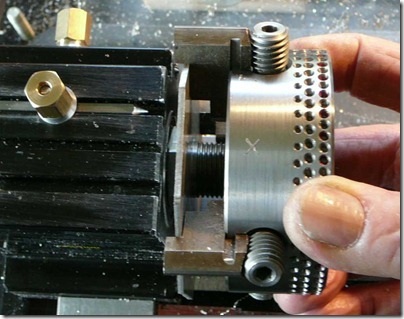
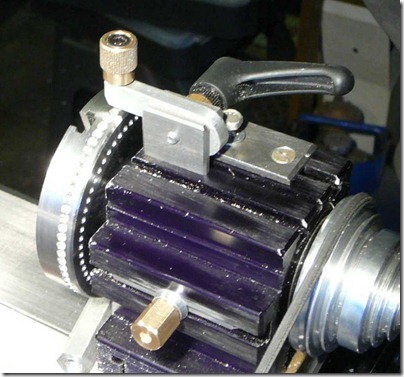
I could not resist having a go at index drilling my face plate, I did what I had threatened to and having all my bits of kit from my index plate mod to hand, I marked the index pin hole location and set to and drilled the back of the face plate with 60 holes, then swapped things about and mounted the plate on the x slide and drilled 72 holes around the outside as per my 4J chuck mod..Now for those that are not aware of where all this is leading, the 60 hole ring has 6 degs between holes and the 72 ring has 5 degs between holes and the difference between them is - 1 DEGREE ! I knew this could be right handy but not how to make use of it. If all else fails I have a cup of tea and sure enough the solution (groan) appears. I just made a slot in the lever mounting used with my chuck mod., so that the lever assy., has vertical and lateral adjustment, only a few degrees needed, it will be in the pics. And now the procedure to tweak my face plate by any number of degrees. eg. REQ'D - Two degs C/W. Slacken 60 hole index pin rotate plate two divs (12 degs) c/w. lock with 60 hole pin. Align 72 hole index pin assy., clamp lever mounting and check index pin seated, withdraw 60 hole pin. Now rotate plate using the 72 hole ring, 2 divs (10 degs) a/c/w, seat index pin. End result 2 degs C/W movement. Well it was either solve that little problem or cut the grass!

