A customer was having problems milling parallel and square surfaces using the Taig milling attachment. It’s been a while since I used the milling attachment as I have the Taig mills, but the principles are the same for big and small mills. Anyway, I quickly (hence some blurry pics) put together this post to show what I achieved. I'll put up a better guide later on Cartertools.com later.
Setting up the milling attachment square is a bit of a chore. First, move up the quick alignment fence of the milling attachment. It’s fine for rough work but gets in the way here.
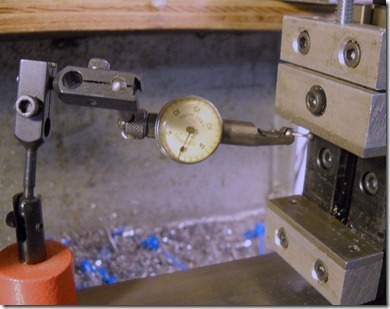
With a good parallel in the vise indicate it square along the axis of the cross slide travel, twisting the milling attachment as needed to get a consistent reading over the travel of the cross slide.
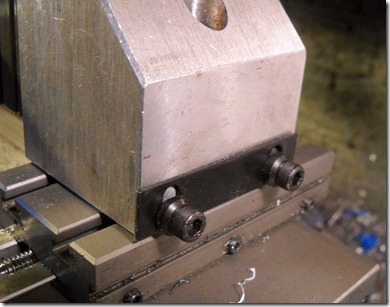
This is a basic setup.
I always tap the work down in the vise with a deadblow hammer. Note that this can cause misalignment if something slips...
And tighten up the jaw screw after getting it snug. This also can have unexpected effects on squareness though.
Milling.
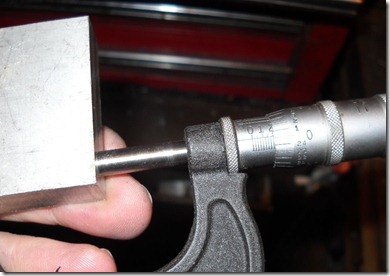
Testing for parallel after milling both ends. .209” on one end.
.203” on the other. Not so good.
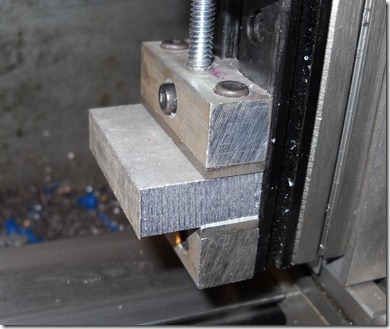
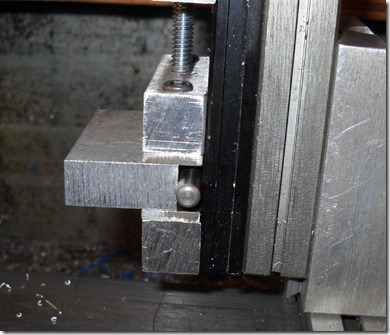
Raising the work off the bed with a dowel pin.
Milling again.
.198”
.200”, so good within a couple of thou. I could have done better, later…
Using some toolbits as parallels to raise up the block. It's important to check that they are the same size.
Milling.
.5097”
.5062”, so about .0035” off from the unmilled surface.
Flipped and milling the other side.
.5042”
.5007”, so about .0035” off again.
Well that’s not terrible for rough work, but I’d like to get within a thou’. So I mounted another parallel and checked back and forth in the two planes.
Off about .007”, not good.
The bed was parallel though.
I checked the jaw.
Way off. So I removed the fixed jaw, cleaned it, aligned it as best I could without the steel jaw attached, cleaned oil and such off the steel jaw and replaced it, Basically making sure that the fixed jaw, which is the primary reference, was square. Remove any burrs and lapping may help. This isn't a precision vise compared to a toolmakers vise or a Kurt vise though.
Testing after replacing and it’s dead on except at the very bottom where the steel is slightly deformed. I could remove this by filing/lapping.
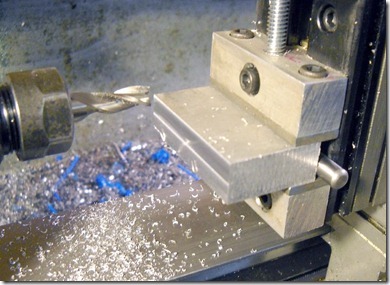
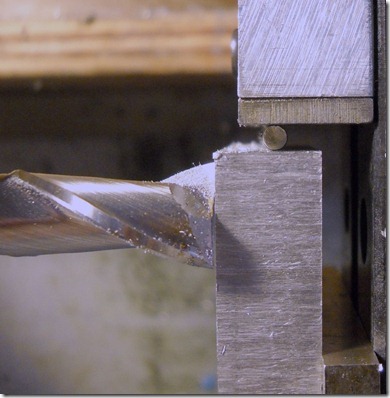
Since the edges aren’t square (remember they’re a few thou’ off.) I used a dowel pin between the moving jaw and the work. This rolls between the moving jaw and the work as it’s tightened, keeping the work from moving at all in relation to the fixed jaw.
Here’s another shot.
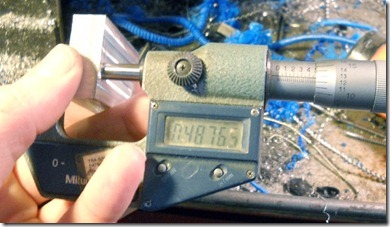
.04869” at one end.
.04864” at the other. About .0006" off.
One spot, where the end mill raised a burr is .4876”, it’s important not to be misled by an artifact like this.
Anyway, the lessons are to check the setup of the vise, make sure the fixed jaw and bed are square to each other and that all travels are square/parallel. Use a dowel pin between the moving jaw and the work to keep the force of clamping from misaligning the work. Hope this helps. There are a bunch of other tricks that can achieve the same ends.
